
模写20150721
📅 2015/07/21
題材:たまこラブストーリー
所要時間:20分
ツール:CLIP STUDIO PRO, Cinteq Companion2 DTH-W1310T/K0

題材:たまこまーけっと
所要時間:20分

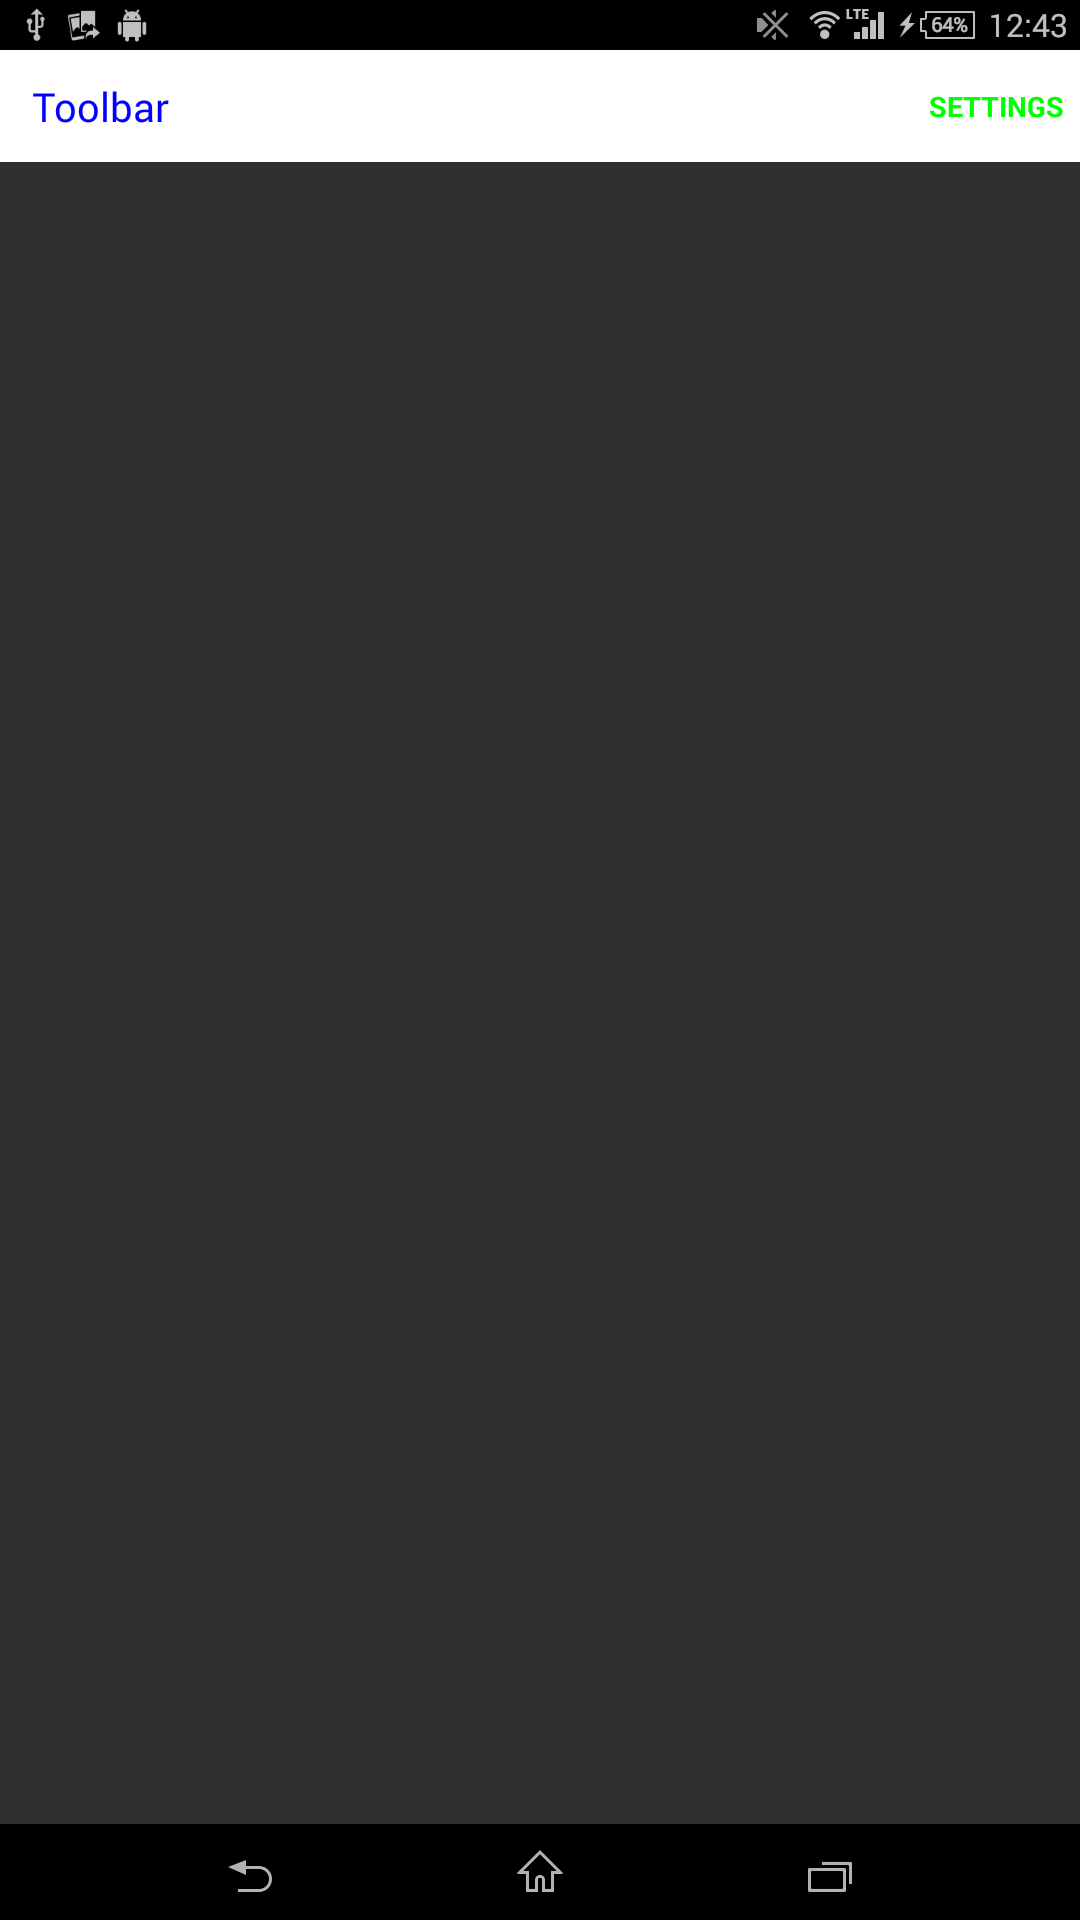
AndroidのToolbarにスタイルを適用する
📅 2015/07/10
ActionBarを無効化
NoActionBarを継承したスタイルを作り、applicationのthemeに設定する。
Androidmanifest.xml
<?xml version="1.0" encoding="utf-8"?>
<manifest xmlns:android="http://schemas.android.com/apk/res/android"
    package="epy0n0ff.com.toolbar"
    >
  <application
      android:allowBackup="true"
      android:icon="@mipmap/ic_launcher"
      android:label="@string/app_name"
      android:theme="@style/AppTheme"
      >
    <activity
        android:name=".MainActivity"
        android:label="@string/app_name"
        >
      <intent-filter>
        <action android:name="android.intent.action.MAIN"/>
        <category android:name="android.intent.category.LAUNCHER"/>
      </intent-filter>
    </activity>
  </application>
</manifest>
styles.xml
<style name="AppTheme" parent="Theme.AppCompat.NoActionBar">
  </style>
Toolbarの色を変更する
NoActionBarを継承したスタイルを作る。スタイルを適用しただけではだめなので、利用するActivityで必ず先にsetSupportActionBar(toolbar)しておく。
android:backgroundはToolbarの背景色android:textColorPrimaryはToolbarのタイトルテキストの色actionMenuTextColorはToolbarに設定したメニューのテキストの色
styles.xml
<style name="ToolbarTheme" parent="Theme.AppCompat.NoActionBar">
    <!-- setSupportActionbar()で設定しないと適用されない -->
    <item name="android:background">#ffffff</item>
    <item name="android:textColorPrimary">#0000ff</item>
    <item name="actionMenuTextColor">#00ff00</item>
  </style>
プレビュー
こんな感じになります。
2015/06/20の一枚
📅 2015/06/22
EDのワンシーン模写 pic.twitter.com/FC2nBsKIgA
— えぴょん (@epy0n0ff) June 20, 2015
[メモ]動画ファイルのContentResolverの戻り値
📅 2015/06/05
動画をギャラリーから開くIntent
new Intent(Intent.ACTION_PICK, MediaStore.Video.Media.EXTERNAL_CONTENT_URI);
onActivityResultで受けたIntentからContentResolverへ問い合わせ
Cursor cursor = getContentResolver().query(data.getData(), null, null, null, null);
cursor.moveToFirst();
for(int i=0; i< cursor.getColumnCount(); i++) {
  Log.d("movie", cursor.getColumnName(i) );
}
結果
_id
_data
_display_name
_size
mime_type
date_added
date_modified
title
duration
artist
album
resolution
description
isprivate
tags
category
language
mini_thumb_data
latitude
longitude
datetaken
mini_thumb_magic
bucket_id
bucket_display_name
bookmark
width
height
AndroidのmanifestPlaceholdersの使いどころ
📅 2015/05/22
build.gradleのbuildTypesとproductFlavors内でmanifestPlaceholdersと変数展開について軽くまとめてみる。 今のところ使った場面は以下の4つです。
- GCMのPermission
- GCMのIntentFilter
- AndroidManifestでSearchRecentSuggestionsProviderの定義
- android:schemeのホスト名
build.gradleを以下のように設定している場合についてそれぞれ説明します。
build.gradle
android {
...
  buildTypes {
    release {
      manifestPlaceholders = [hostName: "epy0n0ff.com"]
      minifyEnabled false
      proguardFiles getDefaultProguardFile('proguard-android.txt'), 'proguard-rules.pro'
    }
    develop {
      debuggable true
      signingConfig signingConfigs.debug
      manifestPlaceholders = [hostName: "dev.epy0n0ff.com"]
      applicationIdSuffix '.develop'
    }
    local {
      debuggable true
      signingConfig signingConfigs.debug
      manifestPlaceholders = [hostName: "local.epy0n0ff.com"]
      applicationIdSuffix '.local'
    }
    debug {
      debuggable true
      signingConfig signingConfigs.debug
      manifestPlaceholders = [hostName: "dev.epy0n0ff.com"]
      applicationIdSuffix '.debug'
    }
  }
...
}
GCMのPermission
GCMのPermission要素にはapplicationIdを含みます。 buildTypes毎にAndroidManiefst.xmlを用意してもいいのですが、事故を減らすために main/AndroidManifest.xmlを以下の用に変更します。
AndroidManifest.xml(適用前)
<permission android:name="com.epy0n0ff.develop.permission.C2D_MESSAGE"
      android:protectionLevel="signature"/>
  <uses-permission android:name="com.epy0n0ff.develop.permission.C2D_MESSAGE"/>
</code></pre>
AndroidManifest.xml(適用後)
<pre><code>
<permission android:name="${applicationId}.permission.C2D_MESSAGE"
      android:protectionLevel="signature"/>
  <uses-permission android:name="com.epy0n0ff.develop.permission.C2D_MESSAGE"/>
GCMのIntentFilter
GCMの設定には前項以外にもIntentFilterにapplicationIdが使用されています。 ここもapplicationIdの変数を使うように変更します。 AndroidManifest.xml(適用前)
    <receiver
        android:name="com.epy0n0ff.GCMReceiver"
        android:permission="com.google.android.c2dm.permission.SEND"
        >
      <intent-filter>
        <action android:name="com.google.android.c2dm.intent.RECEIVE"/>
        <action android:name="com.google.android.c2dm.intent.REGISTRATION"/>
        <category android:name="com.epy0n0ff.develop"/>
      </intent-filter>
    </receiver>
AndroidManifest.xml(適用後)
    <receiver
        android:name="com.epy0n0ff.GCMReceiver"
        android:permission="com.google.android.c2dm.permission.SEND"
        >
      <intent-filter>
        <action android:name="com.google.android.c2dm.intent.RECEIVE"/>
        <action android:name="com.google.android.c2dm.intent.REGISTRATION"/>
        <category android:name="${applicationId}"/>
      </intent-filter>
    </receiver>
AndroidManifestでSearchRecentSuggestionsProviderの定義
見落としがちというか気づきにくいのがSearchRecentSuggestionsProviderの定義です。
Logcatで見ていると以下のようなエラーが出るので修正します。
/com.epy0n0ff.develop E/ActivityThread﹕ Failed to find provider info for com.epy0n0ff.content.provider.search
AndroidManifest.xml(適用前)
<provider
        android:name=".content.provider.RecentSearchSuggestionProvider"
        android:authorities="com.epy0n0ff.content.provider.search"
        android:exported="false"
        />
AndroidManifest.xml(適用後)
<provider
        android:name=".content.provider.RecentSearchSuggestionProvider"
        android:authorities="${applicationId}.content.provider.search"
        android:exported="false"
        />
android:schemeのホスト名
ここでやっとmanifestPlaceholdersの登場です。 manifestPlaceholdersはkey-valueのmapなので${key}と書くとそこにvalueが展開されます。
AndroidManifest.xml(適用前)
   <activity
        android:name=".view.activity.UrlInterpreterActivity"
        android:launchMode="singleTask"
        android:noHistory="true">
      <intent-filter>
        <action android:name="android.intent.action.VIEW"/>
        <category android:name="android.intent.category.DEFAULT"/>
        <category android:name="android.intent.category.BROWSABLE"/>
        <data
            android:host="develop.epy0n0ff.com"
            android:pathPattern="/sp/.*"
            android:scheme="http"/>
    </activity>
AndroidManifest.xml(適用後)
    <activity
        android:name=".view.activity.UrlInterpreterActivity"
        android:launchMode="singleTask"
        android:noHistory="true">
      <intent-filter>
        <action android:name="android.intent.action.VIEW"/>
        <category android:name="android.intent.category.DEFAULT"/>
        <category android:name="android.intent.category.BROWSABLE"/>
        <data
            android:host="${hostName}"
            android:pathPattern="/sp/.*"
            android:scheme="http"/>
    </activity>
参考
droneioのAPIを叩く
📅 2015/05/11
commit hook以外でもdroneでbuild走らせたかったのでガサゴソAPIドキュメント漁ったのでその時のメモ。
トークンの確認
http://{drone_url}/account/profile
apk keyという項目があるので以降APIの認証にはそちらを使う。
https://{dorne_url}/{api_path}?access_token={api_key}
ユーザ情報取得
curl -X GET "https://{drone_url}/api/user?access_token={api_key}"
ユーザフィード取得
curl -X GET "https://{drone_url}/api/user/feed?access_token={api_key}"
リビルド
curl -X GET "https://{drone_url}/api/repos/bitbucket.org/{repository_owner}/{repository_name}/branches/{branch_name}/commits/{commit_hash}?action=rebuild&access_token={api_key}"
参考
apktoolでエラー
📅 2015/05/08
apktoolでデコンパイルしようと以下の様なエラーが出た。
apktool d hoge.apk
...
W: Could not decode attr value, using undecoded value instead: ns=android, name=touchscreenBlocksFocus, value=0xffffffff
...
どうやらframework.apkが古いようなのでnexus5から引っ張ってきて入れ替える。
adb pull /system/framework/framework-res.apk
apktool if framework-res.apk
これで無事デコンパイルできるようになった。
参考
CoreOS + RAID5メモ
📅 2015/05/04
Intel 320 60GB x 5 をRAID5で構成で作ろうとした時のメモ。
dmesgを見るとmdがsda,sdb,adc,sdd,sdeのRAIDデバイスだと分かる。
/devを覗いてみると3つのデバイスがぶら下がっている。
/proc/mdstatにraidの設定が書かれている。
$ ls /dev | grep md
md
md126
md127
$ cat /proc/mdstat
Personalities : [raid6] [raid5] [raid4]
md126 : active raid5 sda[4] sdb[3] sdc[2] sdd[1] sde[0]
      234452992 blocks super external:/md127/0 level 5, 64k chunk, algorithm 0 [5/5] [UUUUU]
md127 : inactive sdb[4](S) sda[3](S) sde[2](S) sdc[1](S) sdd[0](S)
      11620 blocks super external:imsm
unused devices: <none>
$ sudo mdadm -D /dev/md126
/dev/md126:
      Container : /dev/md/imsm0, member 0
     Raid Level : raid5
     Array Size : 234452992 (223.59 GiB 240.08 GB)
  Used Dev Size : 58613376 (55.90 GiB 60.02 GB)
   Raid Devices : 5
  Total Devices : 5
          State : clean
 Active Devices : 5
Working Devices : 5
 Failed Devices : 0
  Spare Devices : 0
         Layout : left-asymmetric
     Chunk Size : 64K
           UUID : xxxx
    Number   Major   Minor   RaidDevice State
       4       8        0        0      active sync   /dev/sda
       3       8       16        1      active sync   /dev/sdb
       2       8       32        2      active sync   /dev/sdc
       1       8       48        3      active sync   /dev/sdd
       0       8       64        4      active sync   /dev/sde
$ sudo mkfs.ext4 /dev/md126
mke2fs 1.42.10 (18-May-2014)
Creating filesystem with 58613248 4k blocks and 14655488 inodes
Filesystem UUID: xxxx
Superblock backups stored on blocks:
        32768, 98304, 163840, 229376, 294912, 819200, 884736, 1605632, 2654208,
        4096000, 7962624, 11239424, 20480000, 23887872
Allocating group tables: done
Writing inode tables: done
Creating journal (32768 blocks): done
Writing superblocks and filesystem accounting information: done
$ sudo mkfs.ext4 /dev/md126
$ blkid
/dev/md126: UUID="xxxxx" TYPE="ext4"
取り敢えずインストールコマンドを叩く
$ coreos-install -d /dev/md126 -c cloud-config.yml
/usr/bin/coreos-install: Target block device (/dev/md126) is not a full disk.
インストーラのコードを見てみるとデバイスがdisk|loop|lvm以外だとだめのようだ。 https://github.com/coreos/init/blob/master/bin/coreos-install#L187
lsblk -n -d -o TYPE /dev/md126
raid5
https://github.com/coreos/docs/issues/222
raid5でlvmを作ってそこにインストールする方向に変更
参考:http://qiita.com/irasally/items/b3630eb2f7739a05d4bc
$ sudo fdisk /dev/md126
$ lsblk -n -d -o TYPE /dev/md126
$ lsblk -n -d -o TYPE /dev/md126p1
$ sudo pvcreate /dev/md126p1
$ sudo vgcreate VgRaid /dev/md126p1
$ sudo lvcreate -n LvRaid -l 100%FREE VgRaid
$ lsblk -n -d -o TYPE /dev/md126p1
md
$ lsblk -n -d -o TYPE /dev/VgRaid/LvRaid
lvm
$ sudo coreos-install -d /dev/VgRaid/LvRaid -c cloud-config.yml
Checking availability of "local-file"
Fetching user-data from datasource of type "local-file"
Downloading the signature for http://stable.release.core-os.net/amd64-usr/633.1.0/coreos_production_image.bin.bz2...
2015-05-04 10:37:52 URL:http://stable.release.core-os.net/amd64-usr/633.1.0/coreos_production_image.bin.bz2.sig [543/543] -> "/tmp/coreos-install.YKTo85nR9C/coreos_production_image.bin.bz2.sig" [1]
Downloading, writing and verifying coreos_production_image.bin.bz2...
2015-05-04 10:39:01 URL:http://stable.release.core-os.net/amd64-usr/633.1.0/coreos_production_image.bin.bz2 [139976806/139976806] -> "-" [1]
gpg: Signature made Thu Mar 26 11:07:40 2015 UTC using RSA key ID E5676EFC
gpg: key 93D2DCB4 marked as ultimately trusted
gpg: checking the trustdb
gpg: 3 marginal(s) needed, 1 complete(s) needed, PGP trust model
gpg: depth: 0  valid:   1  signed:   0  trust: 0-, 0q, 0n, 0m, 0f, 1u
gpg: Good signature from "CoreOS Buildbot (Offical Builds) <buildbot@coreos.com>" [ultimate]
blockdev: ioctl error on BLKRRPART: Invalid argument
アッ、ハイ…無理ですね。 RAID1に無理インストールする方法があるみたいだけど、ここまでやるならdiskに直接インストールすればいいや…